|
Bayonne is a town in the French Pays Basque, near Biarritz. The town became France's chocolate capital during the Spanish Inquisition, when Jews fled to Bayonne and brought with them Spanish drinking chocolate and beans, which the Spanish had discovered in Mexico. The French added sugar and cinnamon to the chocolate, boosting the flavour and making the drink more popular. Bayonne's convenient location on two rivers, the Adour and Nive, made it an ideal trading centre.
The Rue du Port Neuf was where most of the chocolatiers set up. In 1856 more chocolatiers were employed in Bayonne than in the whole of Switzerland! As you can see, Bayonne is a very chocolatey city - so I was keen to visit. First up we headed to Atelier du Chocolat's museum, shop and laboratory, which is slightly outside the city center. The self-guided tour began with a little information about cacao growing, including some very specific temperature information. I was pretty surprised by this, but cacao plants need an average yearly temperature of 26 degrees. We then moved on to a section where we could watch the chocolatiers working - some were spreading praline ganache and others were decorating the finished chocolates with tiny dots. We could see the full production in action and some of the machines were particularly satisfying. We could also admire some old chocolate machines, such as conchers and grinders. Finally was a 20 minute film and some information about the packaging and full supply chain. However, the visit wasn't over! Next we headed to a simple, but fun workshop (for younger children) - decorating white chocolate praline fish with cocoa butter dyes. Painting the fish was surprisingly amusing and the white chocolate tasted fairly good to me (I really dislike vanilla) and the praline was delicious. Finally we tasted numerous chocolates, including a delicious 'Chocoberry' truffle (it had a very strong sour cranberry flavour married with a smooth and rich ganache, with honey and nut notes), The Vietnam 75% also had a very curious flavour, almost like roasted pineapples. We also visited Monsieur Txokola, a very small bean-to-bar chocolatier not far from the Rue du Port Neuf. Their very small and only laboratory consisted of only a few machines packed into a small space, meaning they can only produce one batch at a time. After an explanation of how they worked, different conching and roasting times etc. we got to taste a selection of their chocolates. The Tablette D'Antan was an 85% unfermented and unconched bar with plenty of spices - it tasted like slightly sweetened roasted cacao beans, very pure and clean on the palate. Finally we settled on a special edition bar - Solomon Islands 73%, Java 80%, Ecuador 77% and Sao Tomé 64% Pommes de Txopindo (caramelised apple). Finally we stopped by some of the chocolatiers on Rue du Port Neuf, including Cazenave and D'aranatz (Atelier du Chocolat also has a shop here too) however we did not buy anything in the end. See full pictures and videos on our instagram post!
0 Comments
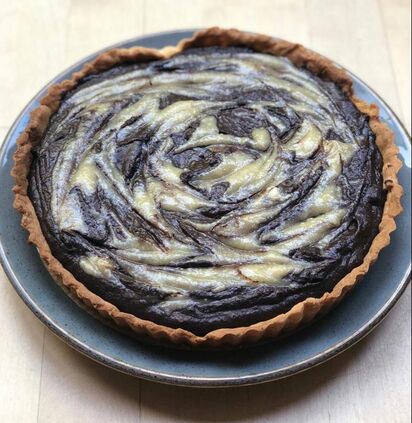
If you love chocolate and sesame, this is a great bake for you! It's not too challenging but looks highly impressive, but it is quite rich so I recommend some fresh fruit on the side. Ingredients Shortcrust Pastry
Tahini Swirl
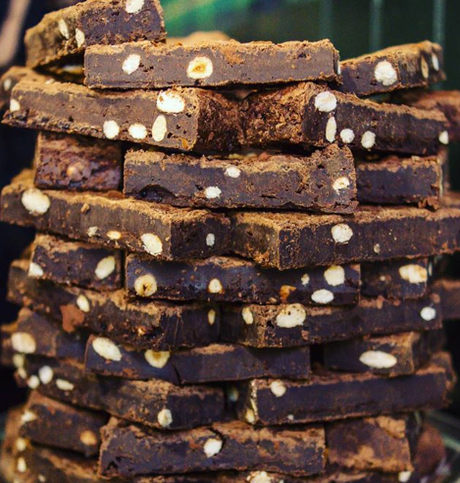
 I made homemade nib-to-bar chocolate this weekend. It took less than 1/2 an hour, and although the tempering didn't go perfectly, it is absolutely delicious. I'll be sharing how to make it: You'll need:
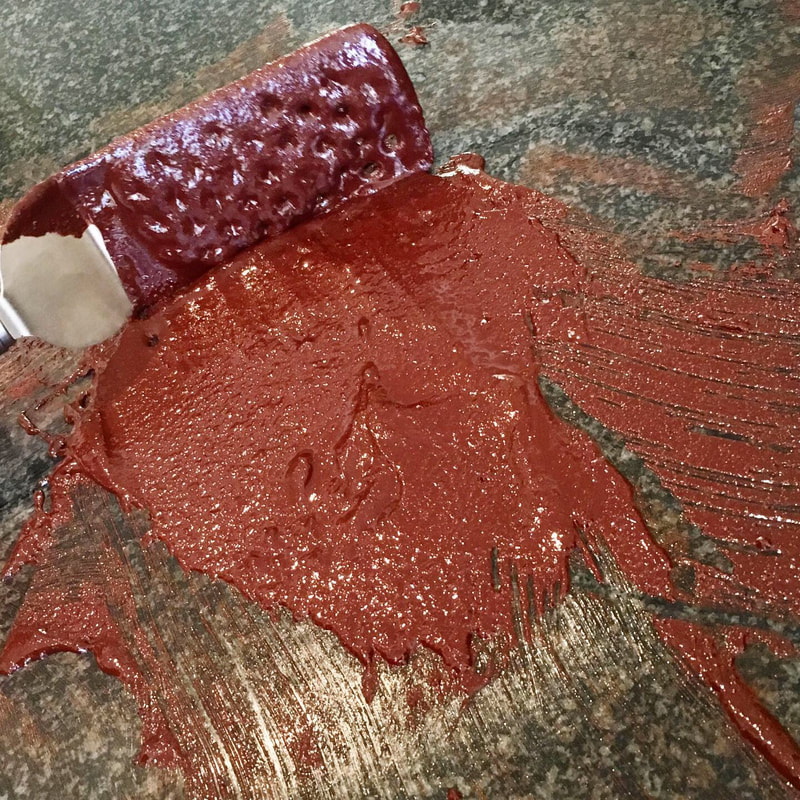
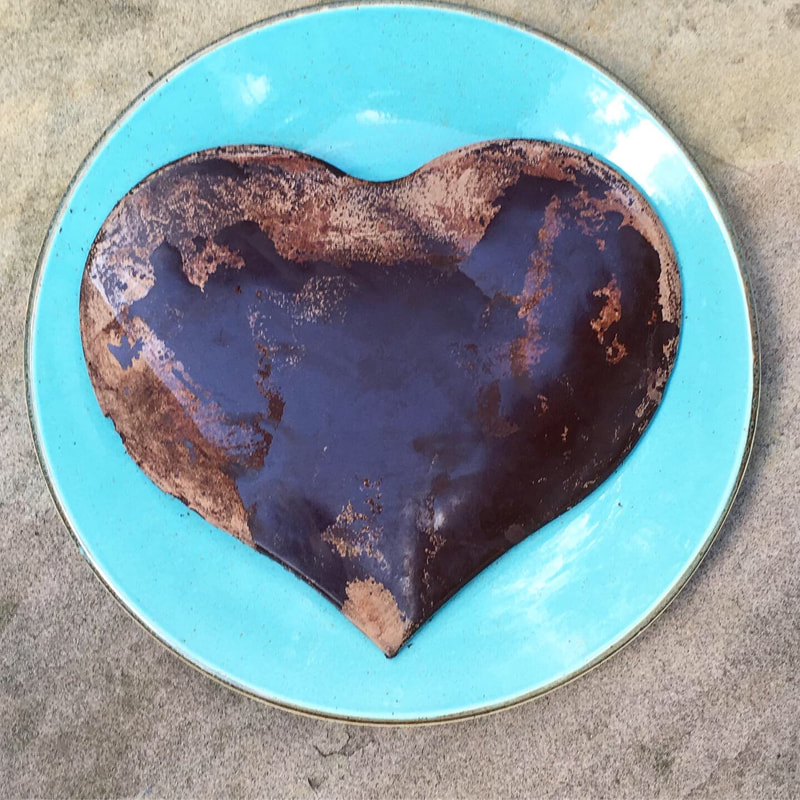
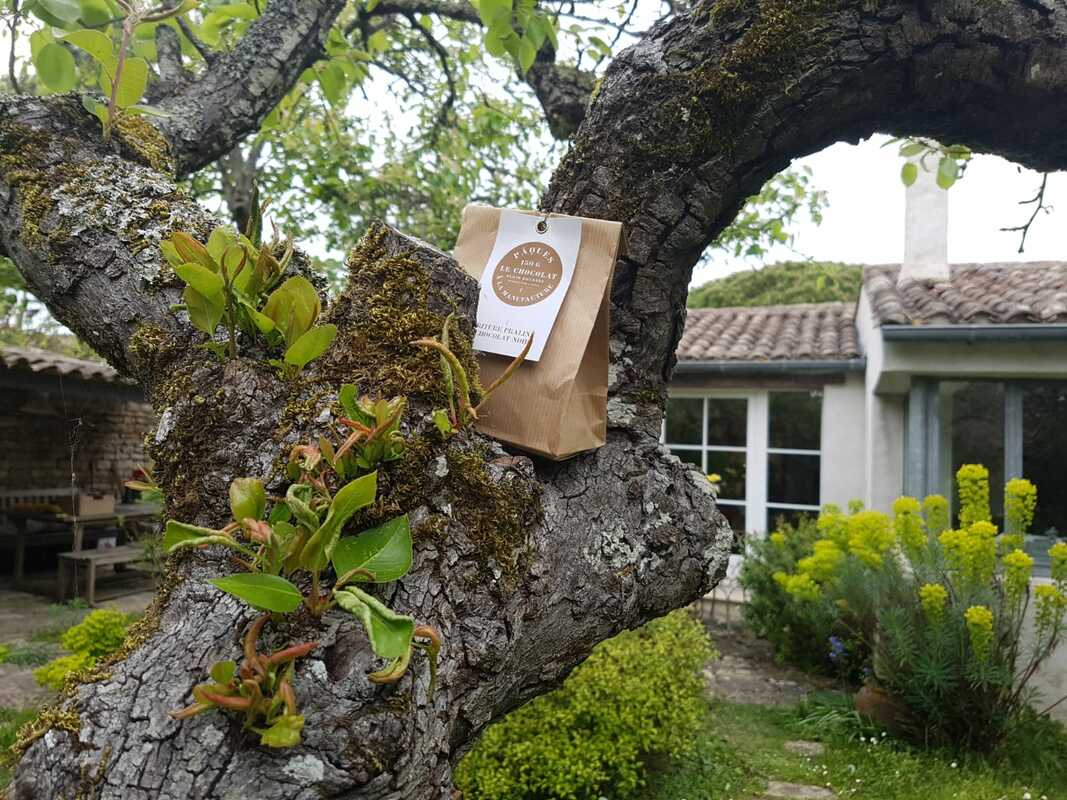
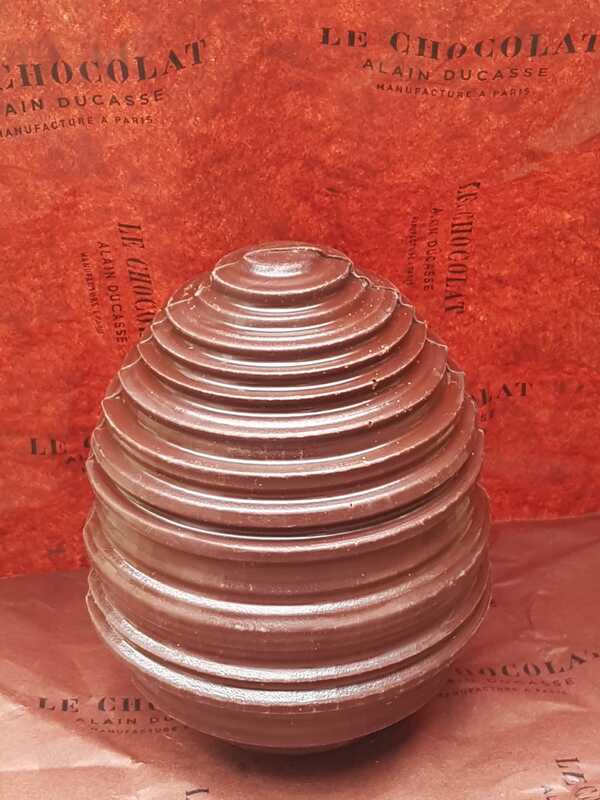
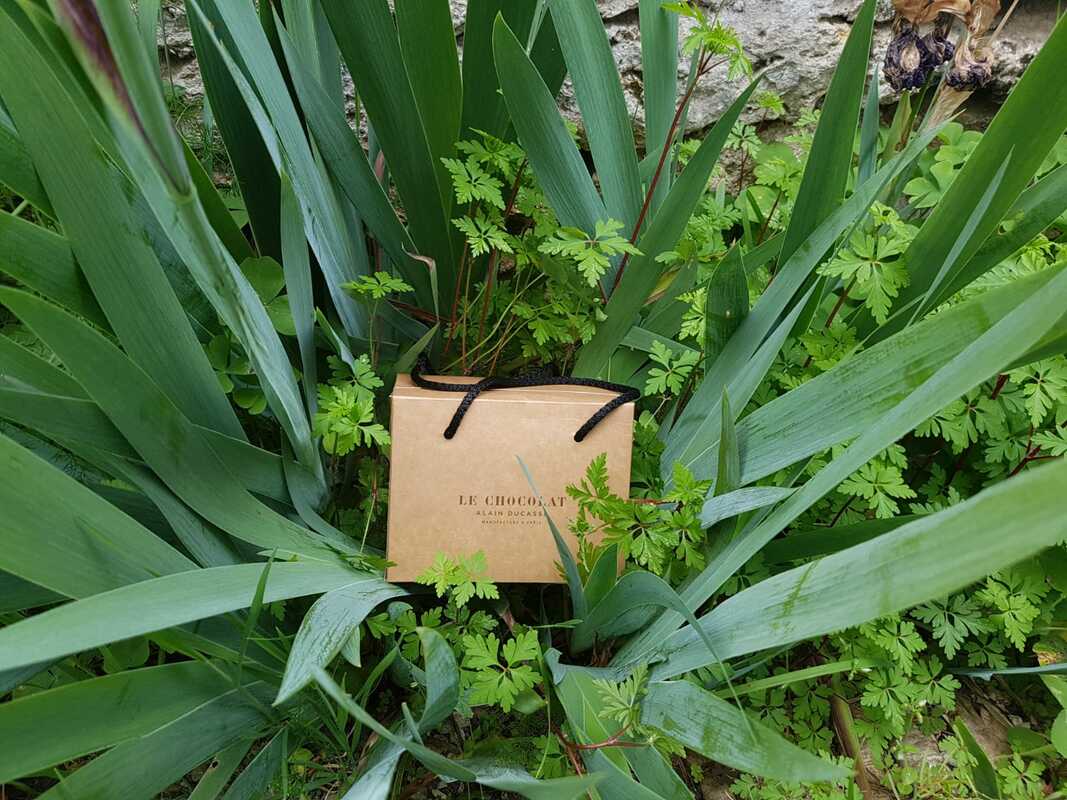
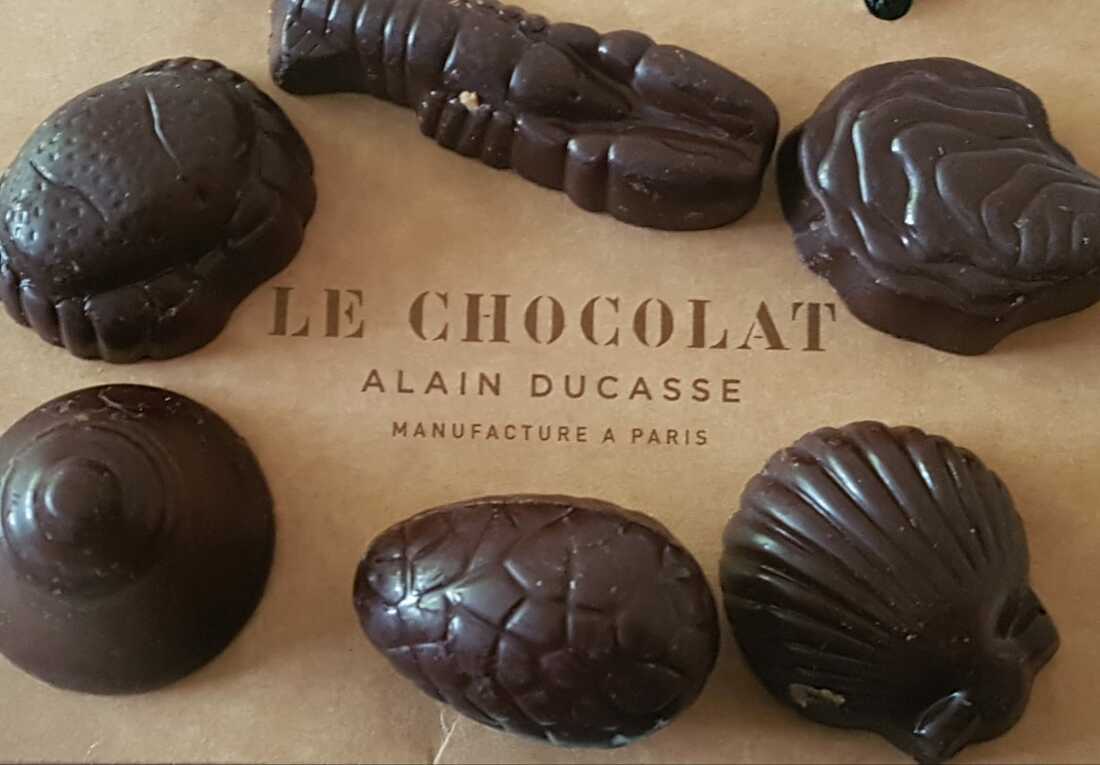
 Atelier C is the only place to offer the true bean to bar experience in the whole of Paris and if you love chocolate (and preferably speak French), it promises to be an unforgettable and valuable experience. The workshop started at 3pm, and began with an explanation of what we were going to do and a talk about the origins of chocolate. The cacao tree originally came from Mexico, and it was the Europeans who eventually spread it to plantations around the globe. We were told that we were going to make the traditional Mexican shape for the bar; that is, round. We could also use the traditional spices: cinnamon and vanilla. After this, we moved to actually making our chocolate, in the following steps: 1. The first thing we did was to decide what cocoa beans we were going to use. We had the choice of six, including Peru, Madagascar, Tanzania and a mix of Criollo. This was done by tasting and smelling - I never knew cocoa beans were so good to eat - and I ended up choosing to blend 75% Peru and 25% Tanzania. (photo No. 1) 2. We picked our spices. There were 3 types of cinnamon, 2 types of coffee, tonka bean and some thing called 'poivre quatre épices' (allspice) which is traditionally used in Mexican chocolate. I picked the wild cinnamon, wild coffee and salt. 3. It was time to start grinding the chocolate! You pour the mixture of cocoa and spices into the top bit by bit, and use a handle which you turn to grind. The whole thing is put through 3 times to form a thick paste, which sticks together because the friction between the grinding plates causes the cocoa butter to come out. (photo No. 2 and 3) 4. We chose our sugar and added it to the paste. Mine had wild vanilla added to it. 5. The grinding process was continued while heating it with a hot air gun. This is done around 5 times, before all the paste is taken out of the machine with your hands - you really get your hands dirty during this process, but on the plus side, you can lick them (and the chocolate paste is absolutely delicious, even better than melted chocolate)! 6. Time for the tempering. 2/3 of the chocolate paste is spread out and cooled on the marble, whilst 1/3 is left warm. Then, when the texture has changed, you have to quickly mix the two together to bring the temperature back up. (photo No. 4) 7. The chocolate is put in moulds and refrigerated for it to harden. (photo No. 5) 8. Once the chocolate is hard, you can take it out and you have a bar of unconched chocolate! (photo No. 6) At the end of the workshop, we all got to taste each others creations, and talk about them. My favourite was mine, probably because I had created my own recipe, with my favourite things, but they were all delicious. The final product is not smooth, because it is not conched, but it is SO good! I look forward to seeing what the Forastero and Criollo think of my creation! REVIEW TIME: Trinitario's (75% Peru, 25% Tanzania, 85% overall, wild cinnamon, wild coffee and salt) Forastero: 9.3/10 Slightly alcoholic in taste. Cool texture and the perfect sweetness level. I love the cinnamon and coffee hint. Trinitario's Relative Forastero: 9.6/10 I prefer this one, but it's a bit sweeter. I also like the tonka bean flavour, and the citrussy hint. This year's Easter collection at Alain Ducasse is pretty stunning, with a theme of striking geometric lines whilst staying with traditional shapes. Everything looked amazing, so it took me a while to make a choice. After about 10 minutes, I finally settled on the small dark chocolate 'Œuf Tourné' and a 150g packet of 'Fritures', the traditional French Easter treat in the shape of seafood. These come in a mix of 3 praline flavours: almond for the eggs; coconut for the bell and hazelnut for the rest, and they are all SO good. The chocolate shell is quite thin, and its mild acidity brings freshness to balance the decadence of the different pralines. I think my favourite is the almond egg, which is just perfect in almondiness: not at all bitter, and has the natural crunchiness of the nut. The 'Œuf Tourné' is made of very melty dark chocolate, which is the same as that of the 'fritures' shells, and has more 'fritures' inside. I highly recommend anything from the Easter collection at Alain Ducasse, and I look forward to seeing next year's!
A few weeks ago, I posted an initial update on my honey and lemon truffles recipe, and I'm back with testing round 2! I have added a secret addition this time: honey and lemon curd! Criollo: I think that this chocolate has made a massive improvement. The lemon curd really boost the flavour and the boldness of lemon curd complements the lovely texture. It is not as subtle as last time, but overall wow! Trinitario: I love the lemon curd, and initially I wasn't sure about the combination. but the brightness of the lemon balances the richness of the ganache nicely. To improve it, it now lacks subtlety, perhaps the addition of a herb. Also, I would like to see a silkier ganache. Well done though, a great combination. Forastero: I much prefer the chocolate now. The lemon curd balances the flavours better, and the honey comes through well too. The ganache is perfect for my taste, however the tempering failed :(. That technique will clearly need some work, and I will be trying the seeding method next time. 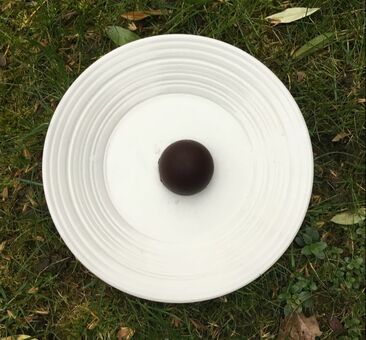 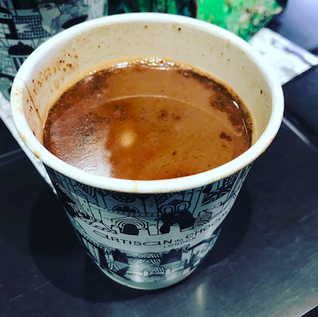 Recently I went to a chocolate shop in West Hampstead called Artisan Du Chocolat (we have rated some of their chocolate) where I tried their hot chocolate. They offered a range of flavoured hot chocolates (£4.00) as well as plain one (£3.50). I chose the flavour Aztec spices. I was expecting a burst of chilli but the chilli flavour was not that strong at all. In fact it was a mild back-of-your-throat kind of chilli flavour. The actual hot chocolate was very nice and quite chocolatey. I have to say that this hot chocolate is definitely better than your usual hot chocolate as it is very pure and rich (you can clearly taste the chocolate). However I would have liked to have a bit more spice in mine and maybe a combination of other flavours rather than just chilli. Overall it was a good, rich hot chocolate that was very yummy.
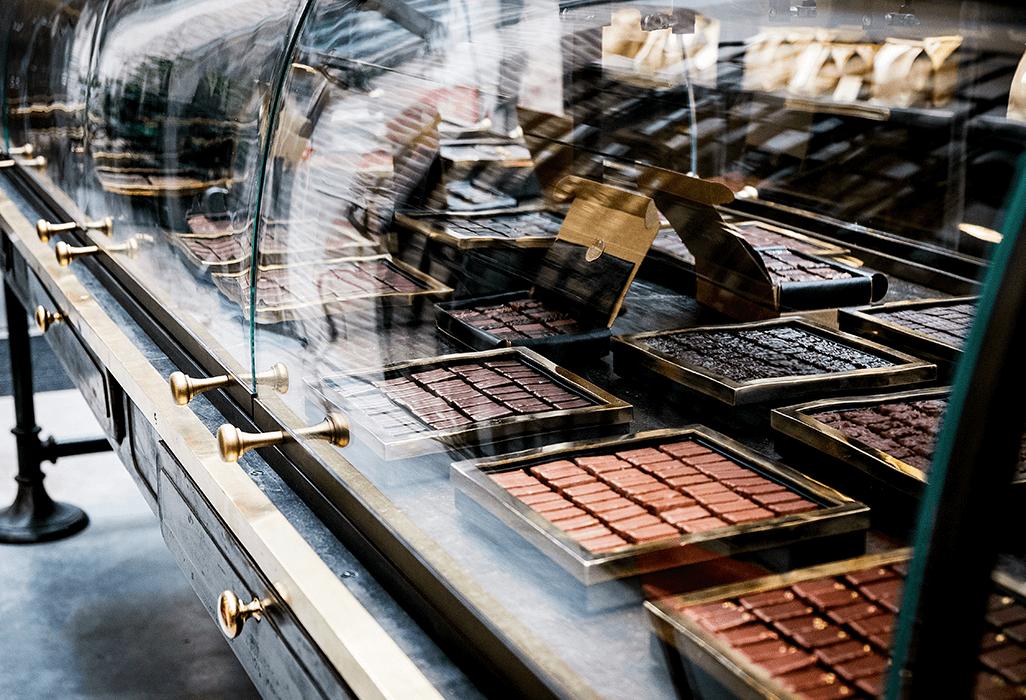
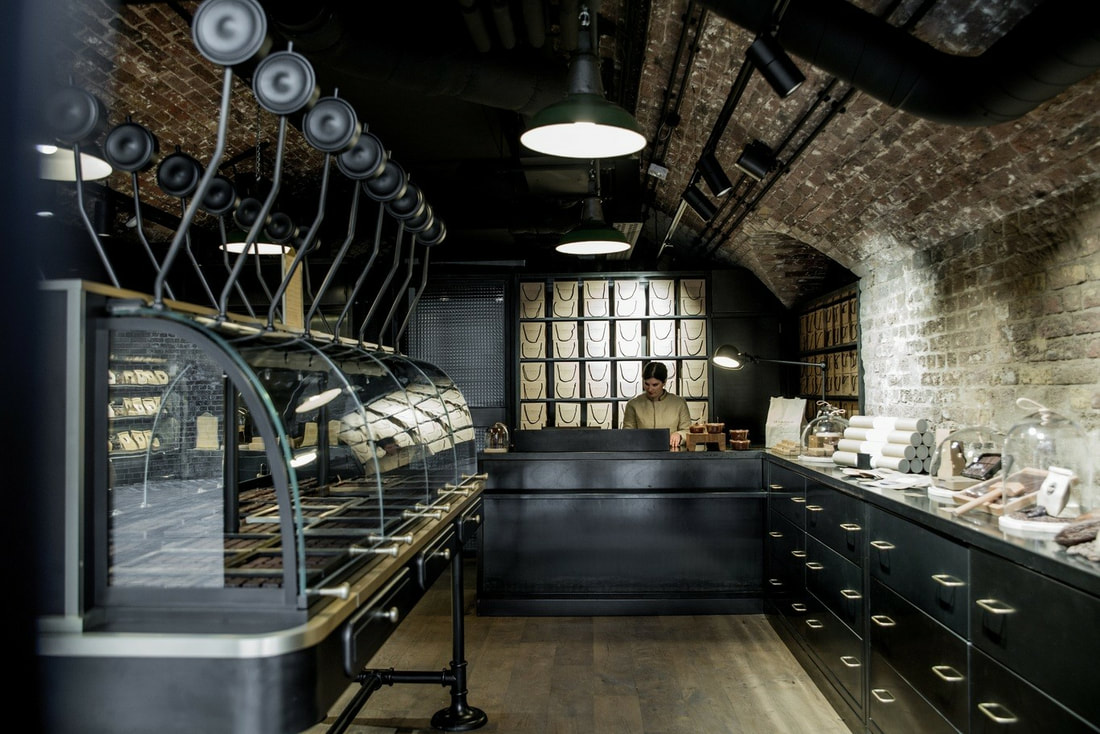
Over the weekend I was testing a recipe from Will Torrent's fantastic book - Chocolate at Home. I adapted the Thyme and Honey Ganache squares to add lemon, and made them round. I brought in my first test batch to school, and shared the results with my fellow reviewers, Criollo and Trinitario, to figure out what needs improvement. Keep your eyes out for a finished and perfected version in the next few weeks. Criollo: This chocolate is very nice but it needs more lemon to balance the flavours. It would be nice if the ganache was softer. Having said that, well done Forastero. Trinitario: The base idea is good, and this already induces pleasure, but I would add more lemon to contrast with the richness. I would have the shell a bit thinner on the bottom, and the ganache a bit more creamy. But in any case, a huge well done to Forastero for making these nonetheless lovely chocolates. Forastero: Needs more work! The lemon and honey flavour is too subtle, so I will be adding another secret filling. It needs a nice shine from tempering, and a slightly softer ganache. The bottom should be neater and the chocolate thinner, which can be resolved by having slightly more chocolate available. Very rich and creamy. 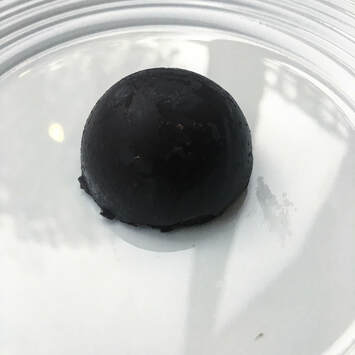 This Sunday, the three of us made the trip to Alain Ducasse on Coal Drops Yard near St Pancras. We all left convinced that not only their chocolate but also their displays and packaging and their staff are absolutely wonderful. We were able to try all the chocolates that we were interested in apart from the fourrée bars, which are a little messy, and the shop assistant (who was lovely) gave us great recommendations and told us all about the chocolate-making process. Marcolini could take the example of Alain Ducasse and let customers try the bars! We discovered non-conched chocolate, which means that the chocolate has a completely different texture, and the flavour (in my opinion) is more prominent. More on conching on our review. We also tried a 55% milk chocolate, which was the best I had ever tasted! Forastero wants to add a little note for you: 'I tried an incredible Java Ganache, which I rated 10/10. Just amazing! Kind of lightly smoky, very melty with a passionfruit hint.' I highly recommend visiting this shop if you have the chance, as the experience promises to be memorable. The displays are stunning and do not undermine the chocolate, having a plain but sophisticated style. Best of all, you can try any bar you want, so that you can buy your absolute favourite and not run the risk having that little niggle of doubt when you leave. I highly recommend their 'fourrée' bars, which are all delicious, especially the passionfruit ganache and coconut praline one. A must go!
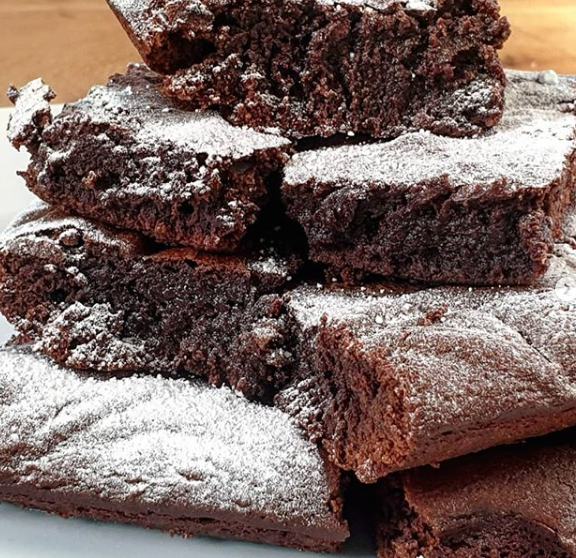
I know there are so many recipes online laying claim to the 'best ever brownies', but I can promise you that this is the real deal. I'm an avid brownie tester, and I have only tasted brownies of this calibre a few times in my life! This brownie is fudgy, not too sweet, uber-gooey, rich, chocolatey, and most of all packed with flavour! For 15 brownies: 150g butter 250g dark chocolate 3 eggs 50g honey 175g caster sugar 125g sifted plain flour 10g cocoa powder 1/2 tsp salt 1. Preheat the oven to 180C/ 160C fan. Line 20cm square baking tray with parchment and butter the sides. 2. Melt the butter and chocolate in microwave on medium in 30 minute bursts, for approximately 2 minutes total or until fully melted. 3. Whisk the eggs, honey and sugar together in a large bowl for 4 minutes. You can do this by hand or using an electric whisk, but if using an electric whisk only do so for 2 minutes. 4. Pour the melted chocolate over the eggs and fold in the flour, cocoa powder and salt. Pour into the tray and bake for 20-25 minutes. They should still seem under baked and little jiggly in the middle, but not raw. You're better off under- than over-baking these as if they are too raw they can just go in for another few minutes. 5. Cool for 1hr, or less in the fridge. Top Tip: For a bit of extra decadence, try pouring the first half of the batter into the tin, then placing a layer of mini marshmallows, followed the rest of the batter. You could also add nuts, white chocolate chips, peanut chips, any of your favourite chocolate bars etc. Feel free to experiment!
|